
Embroidery Sewing Machines: What You Need to Know
If you’ve been searching for a while, you already know how overwhelming it can be to find the right embroidery sewing machines. You want something that feels intuitive, not like deciphering a manual every time you sit down. And honestly, you don’t need more jargon—you need results that make your creativity shine without the frustration.
Here’s what most overlook: the machine that fits your rhythm matters more than the number of built-in designs. Whether you’re eyeing a compact embroidery machine or a versatile sewing and embroidery machine, what counts is how seamlessly it becomes part of your process. From beginner embroidery machines to advanced digital embroidery machines, the right fit feels less like tech and more like an extension of your hands.
What Are Embroidery Sewing Machines and How Do They Work?
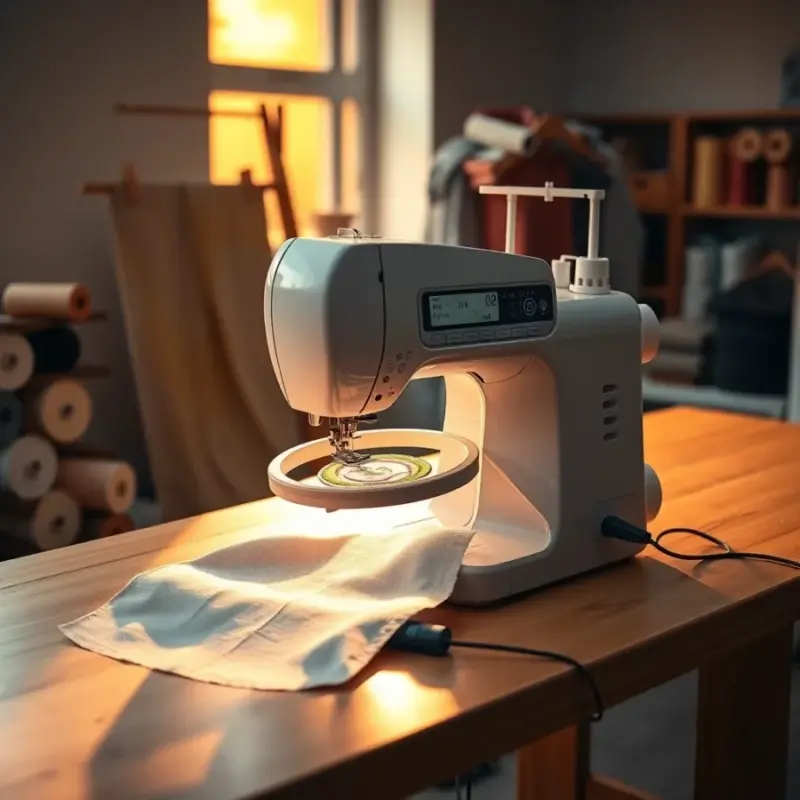
A digital embroidery machine is a specialized device that automates the process of stitching intricate designs onto fabric using pre-programmed patterns. Unlike traditional sewing machines, which require manual control for every stitch, these machines use computerized systems to precisely replicate complex embroidery motifs with minimal user intervention. Whether you're personalizing garments, creating decorative home textiles, or launching a small business, an embroidery machine can transform creative ideas into tangible, professionally finished products. These devices blend textile craftsmanship with modern technology, offering speed, accuracy, and repeatability that hand embroidery simply cannot match.
Core Technology Behind Computerized Embroidery Machines
The heart of any modern embroidery machine is its onboard computer system, which interprets digital design files—commonly in formats like .PES, .DST, or .JEF—and translates them into precise needle movements. The machine uses a motorized hoop system to move the fabric in the X and Y directions while the needle rapidly stitches the pattern. Each color change in a design is typically marked in the software, prompting the user to switch thread colors at the appropriate time. Advanced models feature touchscreens, USB or Wi-Fi connectivity, and even cloud-based design libraries, making it easier than ever to access and load new patterns.
One of the most critical components is the embroidery hoop, which holds the fabric taut during stitching to prevent puckering or misalignment. The size of the hoop determines the maximum design area—common hoop sizes range from 4x4 inches to 8x12 inches or larger on industrial units. High-end models may include automatic thread cutters, needle threaders, and built-in sensors that detect thread breaks or tension issues. These features not only improve efficiency but also reduce user error, making the process more accessible to beginners while still meeting professional demands.
- Digital file compatibility: Most machines support common embroidery file formats, allowing users to download designs from online marketplaces or create their own using editing software.
- Multi-needle systems: Professional-grade machines may have 6 to 15 needles pre-threaded with different colors, eliminating the need for manual thread changes during complex designs.
- USB/Wi-Fi connectivity: Enables direct transfer of designs from a computer or smartphone, streamlining the workflow.
- Automatic tension control: Adjusts thread tension dynamically to maintain stitch quality across different fabrics.
Different Types of Embroidery Machines for Every Need
Not all embroidery sewing machines are created equal—there are several categories tailored to different skill levels, budgets, and use cases. Entry-level models are designed for hobbyists and beginners, offering basic functionality with smaller hoop sizes and limited built-in designs. These beginner embroidery machines often come with instructional guides and simplified interfaces to help new users get started quickly. Mid-range options provide larger embroidery areas, more stitch types, and enhanced editing capabilities, making them ideal for crafters who want more creative control.
At the higher end, professional digital embroidery machines are built for volume and precision. These may include standalone units with large-format capabilities or multi-head systems used in commercial settings. Another popular category is the sewing and embroidery machine combo, which combines standard sewing functions with full embroidery capabilities in a single unit. This hybrid design appeals to users who want versatility without investing in two separate machines. Industrial models, often found in garment factories, operate at much higher speeds and can run unattended for long periods, though they require specialized training and maintenance.
- Single-needle home machines: Most common for personal use; require manual thread changes but are affordable and space-efficient.
- Multi-needle machines: Ideal for businesses producing custom apparel; reduce production time significantly.
- Embroidery combo machine: Combines sewing and embroidery in one unit; perfect for crafters needing both functions.
- Free-standing embroidery units: Attach to industrial sewing machines; used in high-volume production environments.
Choosing the Best Embroidery Machines: Key Features and Considerations
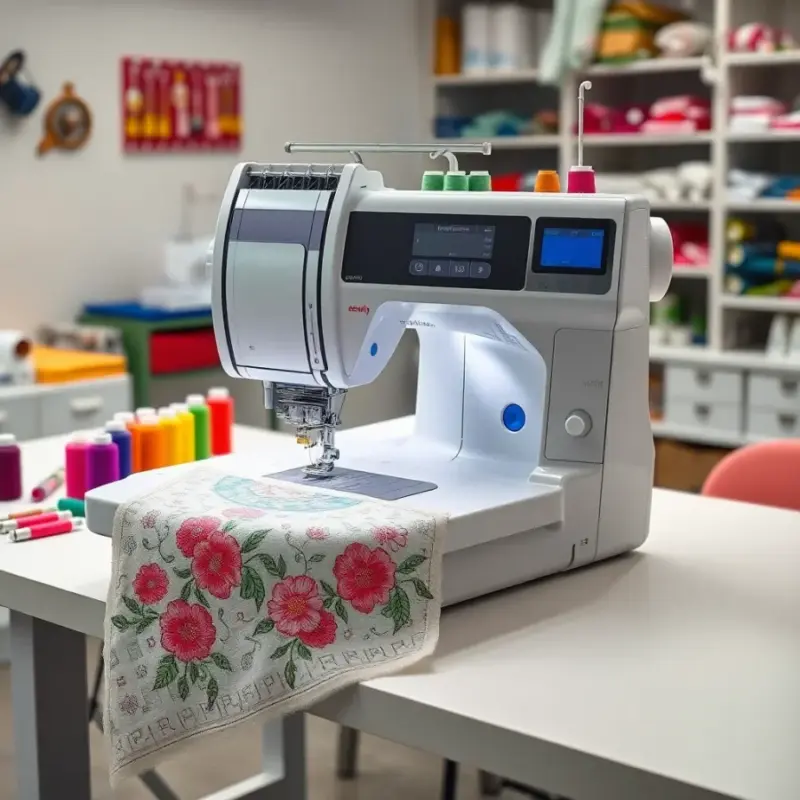
Selecting the right best embroidery machines involves evaluating a range of technical and practical factors. While price is often a deciding factor, it's essential to consider long-term value, ease of use, and compatibility with your intended projects. Whether you're a beginner or an experienced crafter, understanding what features matter most can help you avoid buyer’s remorse and ensure your machine grows with your skills.
Essential Features to Look for in a Digital Embroidery Machine
When comparing models, start by examining the embroidery area—the maximum size of the design the machine can stitch without re-hooping. A 4x4 inch field is standard for basic projects, but larger areas like 5x7 or 6x10 inches offer more flexibility for quilting, tote bags, or jackets. The number of built-in designs and fonts is another consideration; while you can import custom files, having a solid library preloaded can be helpful for inspiration and quick projects. Touchscreen displays have become nearly standard on mid-to-high-end models, offering intuitive navigation and real-time preview of designs.
Other important features include automatic thread trimming, which saves time by cutting excess thread after color changes, and needle threading assistance, which is especially helpful for users with limited dexterity. Some of the most advanced computerized sewing machines include LCD screens that show stitch progress, estimated completion time, and even suggest optimal hoop placement. Connectivity options like USB ports, SD card slots, and Wi-Fi allow seamless transfer of designs from design software or online marketplaces. Additionally, look for machines with strong customer support, available tutorials, and active user communities, as these resources can be invaluable when troubleshooting or learning new techniques.
- Embroidery speed (stitches per minute): Ranges from 300–1,000+ SPM; higher speeds increase productivity but may require sturdier fabric stabilization.
- Memory capacity: Determines how many designs can be stored internally; higher memory reduces reliance on external storage.
- Editing capabilities: Ability to resize, rotate, mirror, or combine designs directly on the machine.
- Automatic hoop detection: Ensures correct alignment and prevents stitching outside the fabric area.
Price Ranges and What to Expect at Each Level
Embroidery machines span a wide price spectrum, from under $300 for basic beginner models to over $10,000 for industrial systems. Understanding what each tier offers helps you make a smart investment based on your needs and projected usage. Entry-level machines are ideal for occasional crafters and those testing the waters of machine embroidery. They typically offer a 4x4 hoop, limited stitch count, and fewer editing features, but they're user-friendly and compact.
Mid-range models, priced between $800 and $2,500, represent the sweet spot for serious hobbyists and small business owners. These sewing and embroidery machines often include larger hoops, more built-in designs, better build quality, and enhanced software integration. At the high end, professional machines deliver industrial-grade performance with faster speeds, larger embroidery fields, and advanced automation. Some even support networked operation for batch production. Below is a comparison table summarizing typical features across price categories in 2026.
| Price Range | Typical Features | Best For | Example Brands |
|---|---|---|---|
| $200–$600 | 4x4 hoop, 50–100 built-in designs, basic LCD screen, USB port | Beginners, light personal use | Brother SE400, Singer Futura CE-200 |
| $600–$1,200 | 5x7 hoop, 150+ designs, touchscreen, editing functions, Wi-Fi | Hobbyists, small craft businesses | Janome Memory Craft 12000, Brother PR680B |
| $1,200–$3,000 | 6x10+ hoop, 200+ designs, automatic thread trim, advanced editing | Professional crafters, boutique production | Brother PR1055X, Bernina 880+ |
| $3,000+ | Multi-needle, industrial speed, network connectivity, large memory | Commercial embroidery shops | Tajima, Melco, Barudan |
How to Get Started with Your Embroidery Machine: Setup and First Projects

Once you've selected your embroidery sewing machine, the next step is setup and initial use. Proper installation and calibration are crucial for achieving clean, professional results. Even the most advanced machine will produce poor stitching if the fabric isn’t hooped correctly or the tension settings are off. This section walks you through the essential steps to get your machine running smoothly and complete your first successful project.
Setting Up Your Machine: Unboxing to First Stitch
Begin by placing your machine on a sturdy, level surface with enough space for the arm to move freely. Carefully unpack all components, including the embroidery unit, hoops, bobbins, needles, and power cords. Follow the manufacturer’s guide to attach the embroidery module if it’s a combo machine. Install the appropriate hoop size for your first project—usually the standard 4x4—and secure it to the machine’s carriage. Thread the machine according to the color sequence in your design, making sure the thread passes through all tension discs and the take-up lever.
Next, load your design. This can be done via USB, SD card, or Wi-Fi, depending on your model. Preview the design on the screen to confirm size, stitch count, and color sequence. Place your fabric in the hoop with stabilizer underneath—this prevents shifting and puckering. Tighten the hoop evenly to avoid distortion. Finally, position the hoop on the machine’s arm and align it using the registration marks. Start the machine at a lower speed for your first run to monitor stitch quality and make adjustments as needed.
- Place the machine on a stable, vibration-free surface.
- Attach the embroidery arm and connect any required cables.
- Thread the upper thread and insert the bobbin following the manual’s instructions.
- Install the correct hoop size and secure it to the machine’s carriage.
- Load your embroidery design via USB, SD card, or wireless transfer.
- Place fabric and stabilizer in the hoop, ensuring even tension.
- Position the hoop on the machine and begin stitching at reduced speed.
Common Mistakes to Avoid When Starting Out
Many beginners encounter avoidable issues that can be prevented with proper preparation. One of the most frequent problems is using the wrong stabilizer. Lightweight fabrics like cotton require medium-weight cutaway or tear-away stabilizers, while stretchy materials like knits need firm support to prevent distortion. Another common error is incorrect hooping—either too loose, causing shifting, or too tight, which can stretch the fabric and lead to puckering after removal.
Thread breaks and bird nesting (thread tangling under the fabric) are often caused by incorrect threading or mismatched needle sizes. Always use embroidery-specific needles, which have a larger eye to accommodate thicker threads. Additionally, failing to clean the machine regularly can lead to lint buildup, which interferes with smooth operation. Make it a habit to remove the bobbin case and clean out lint after every few projects. Lastly, don’t skip test runs on scrap fabric. Testing your design on a sample piece allows you to adjust tension, check alignment, and verify color order before working on your final item.
- Skipping stabilizer: Leads to poor stitch quality and fabric distortion.
- Incorrect needle type: Embroidery needles prevent skipped stitches and thread fraying.
- Overlooking tension settings: Too tight or too loose tension results in uneven stitching.
- Ignoring machine maintenance: Dust and lint reduce precision and increase mechanical wear.
- Not testing designs first: A quick test run saves time and materials in the long run.
Best Practices for Maintaining Your Embroidery Machine
To ensure longevity and consistent performance, regular maintenance of your digital embroidery machine is essential. Like any precision instrument, embroidery machines accumulate lint, dust, and oil residue over time, which can affect stitch accuracy and motor efficiency. A well-maintained machine not only produces better results but also reduces the risk of costly repairs or premature replacement.
Daily and Monthly Maintenance Routines
After each use, unplug the machine and remove the embroidery hoop. Use a small brush or compressed air to clean lint from around the needle area, bobbin case, and feed dogs. Wipe down the exterior with a soft, dry cloth to remove fingerprints or dust. Once a week, remove the bobbin case and clean the shuttle area thoroughly. Check the needle for burrs or bending and replace it after 6–8 hours of stitching or at the start of each new project.
Monthly maintenance includes lubricating moving parts if recommended by the manufacturer—some modern machines are self-lubricating and should not be oiled. Inspect belts and gears for signs of wear, and verify that all connections (USB, power, embroidery arm) are secure. Update the machine’s firmware when available, as manufacturers often release improvements for stability, design compatibility, and feature enhancements. Keeping a log of cleaning and servicing helps track intervals and identify recurring issues.
- Post-use lint removal: Prevents thread jams and ensures smooth operation.
- Needle replacement schedule: Maintains stitch quality and prevents fabric damage.
- Firmware updates: Improve functionality and security, especially on Wi-Fi-enabled models.
- Proper storage: Cover the machine when not in use to protect against dust and spills.
Troubleshooting Common Embroidery Machine Issues
Even with proper care, issues can arise. A common problem is thread breakage, which may stem from incorrect tension, poor thread quality, or a damaged needle. If stitches appear loose or looping on the underside, check bobbin tension and ensure the bobbin is wound evenly. Skipped stitches are often due to a dull or incorrect needle type. If the machine stops mid-design, verify that the design file isn’t corrupted and that the USB drive or SD card has sufficient space.
Another frequent issue is misalignment after hooping—this can occur if the hoop isn’t seated correctly or if the design exceeds the hoop boundary. Always double-check the on-screen preview before starting. If the machine makes unusual noises, turn it off immediately and inspect for obstructions or loose parts. Consult the user manual or manufacturer’s support site for error code meanings. Many brands now offer video tutorials and live chat support, making it easier than ever to resolve issues quickly.
- Thread breaks: Check tension, needle condition, and thread path for snags.
- Uneven stitches: Verify proper threading and stabilizer use.
- Machine freezing: Restart the device and update firmware if necessary.
- Hoop misalignment: Re-seat the hoop and confirm design boundaries in preview mode.
More Information
What should I look for when buying a beginner-friendly embroidery machine?
Look for user-friendly features like automatic threading and built-in tutorials, especially in beginner embroidery machines that offer intuitive touchscreens and simple navigation for first-time users.
Can a computerized sewing machine handle complex embroidery designs?
Yes, a high-quality computerized sewing machine can easily stitch intricate patterns using digital file formats like .PES or .DST, making it ideal for detailed creative projects.
What’s the difference between an embroidery combo machine and a standard sewing machine?
An embroidery combo machine combines both sewing and embroidery functions, offering greater versatility compared to standard models that only support basic stitching.
Are digital embroidery machines worth the investment for home use?
For crafters and small businesses, a digital embroidery machine offers precision, speed, and design flexibility, making it a valuable tool for personalized projects and custom apparel.
Leave a Reply